Dishonored 2 Mission 4 - Safe Combination
Por um escritor misterioso
Last updated 01 dezembro 2024
Dishonored 2 Guide/Walkthrough - Part III - The Wall of Light and the Overseer's Outpost
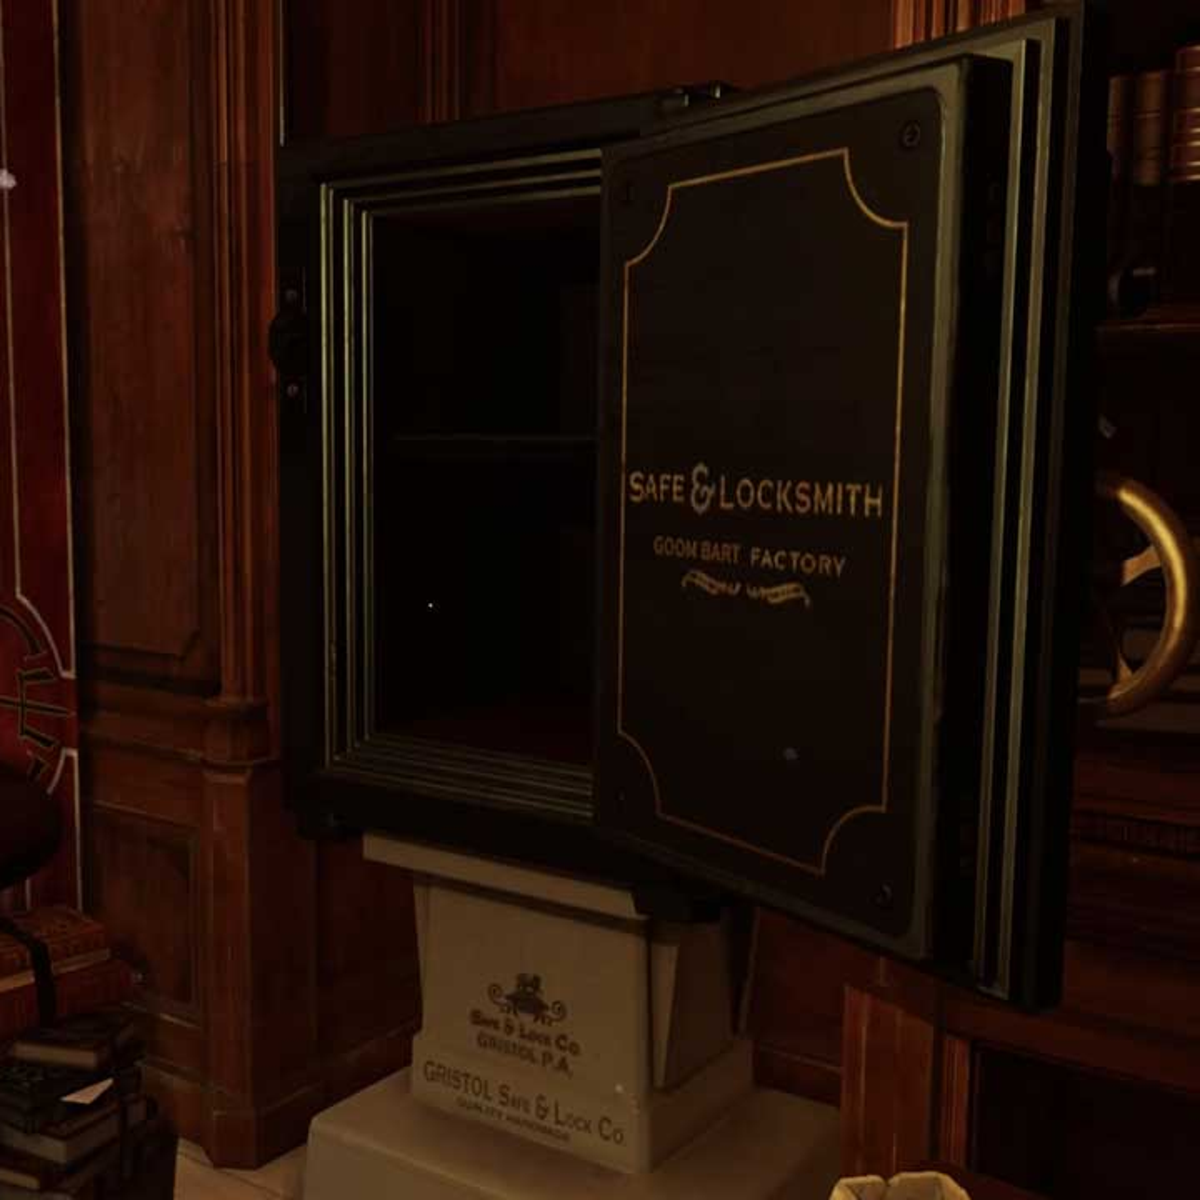
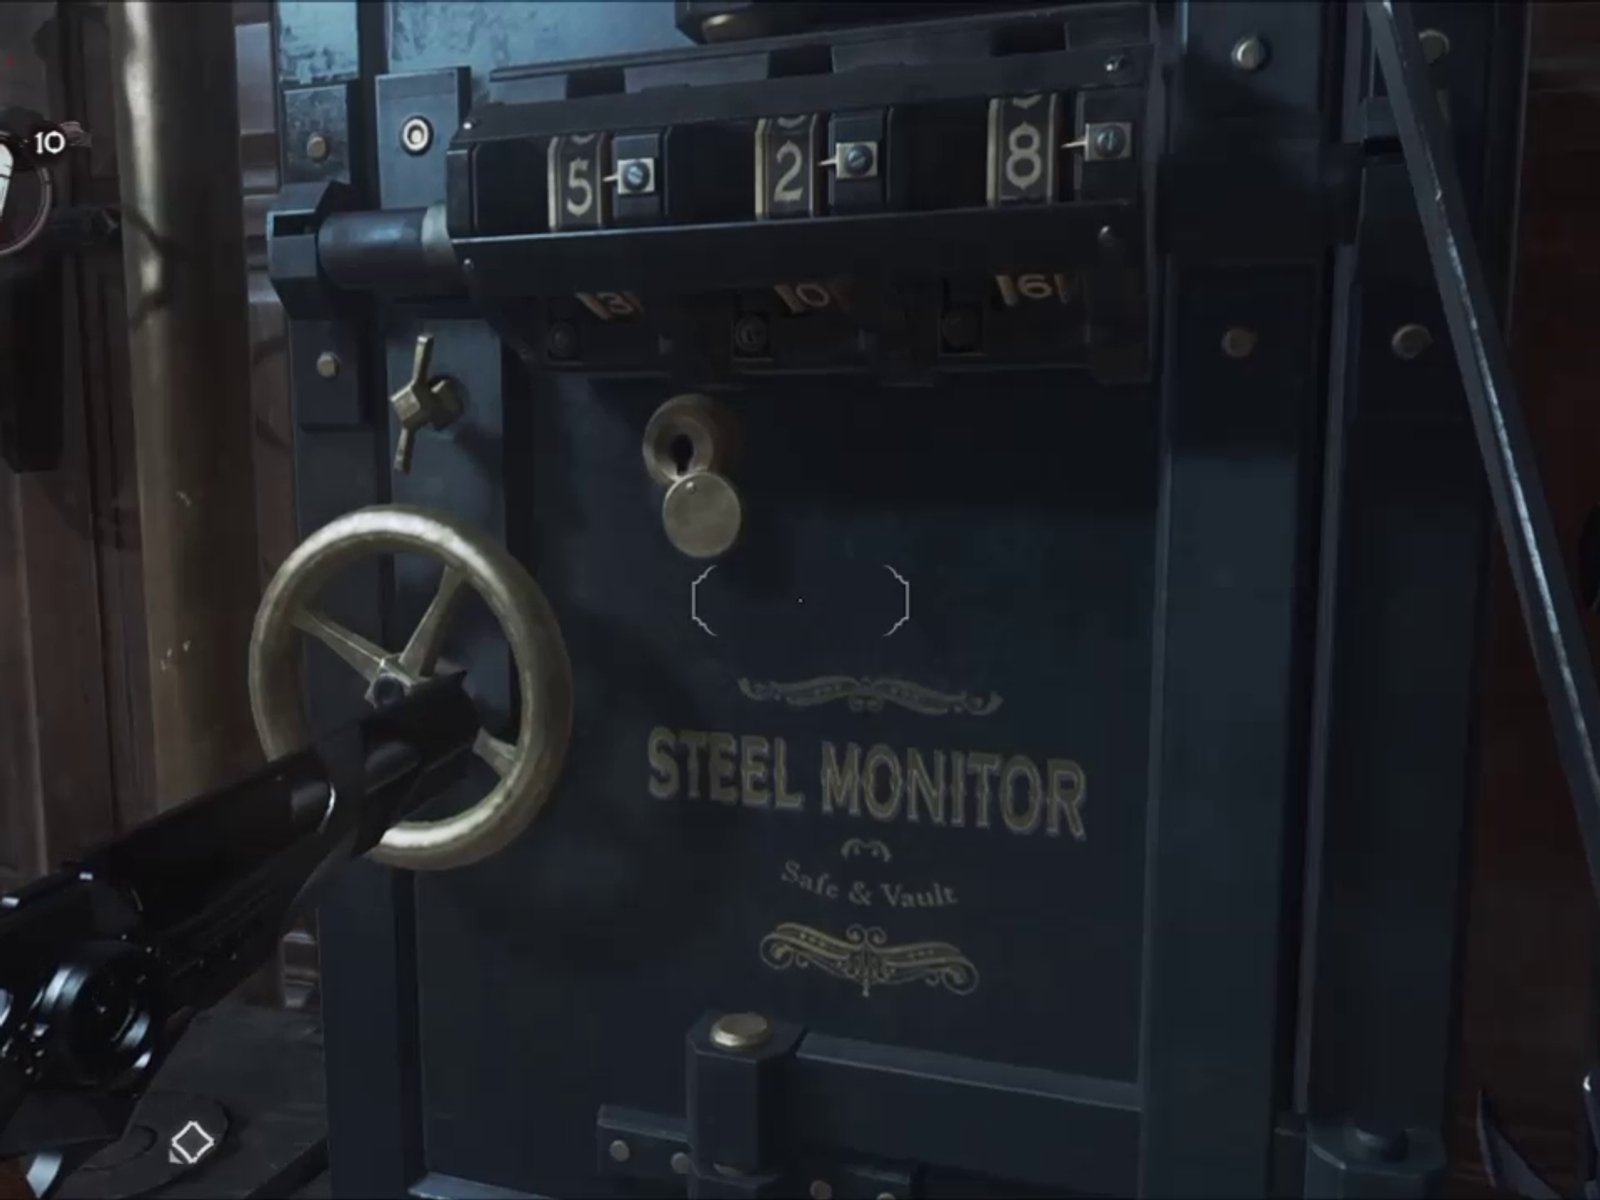
Dishonored 2: safe combinations guide
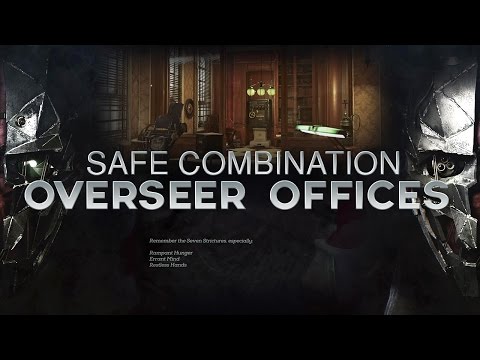
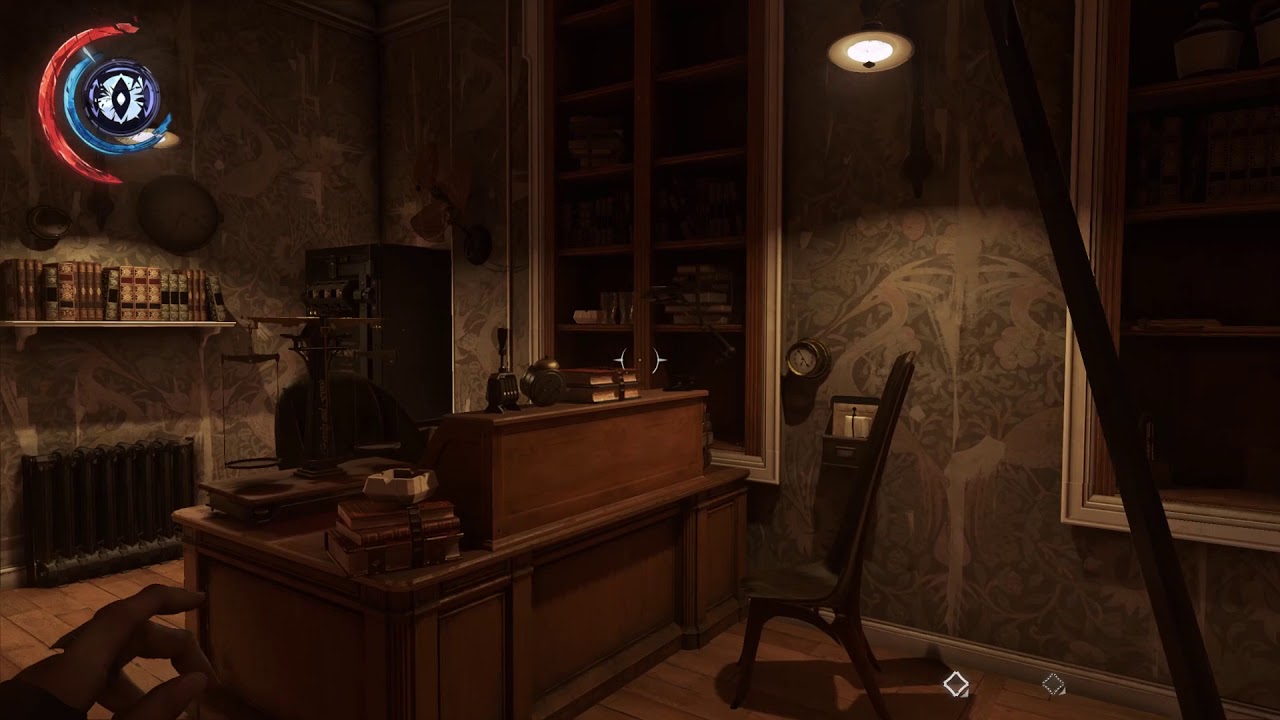
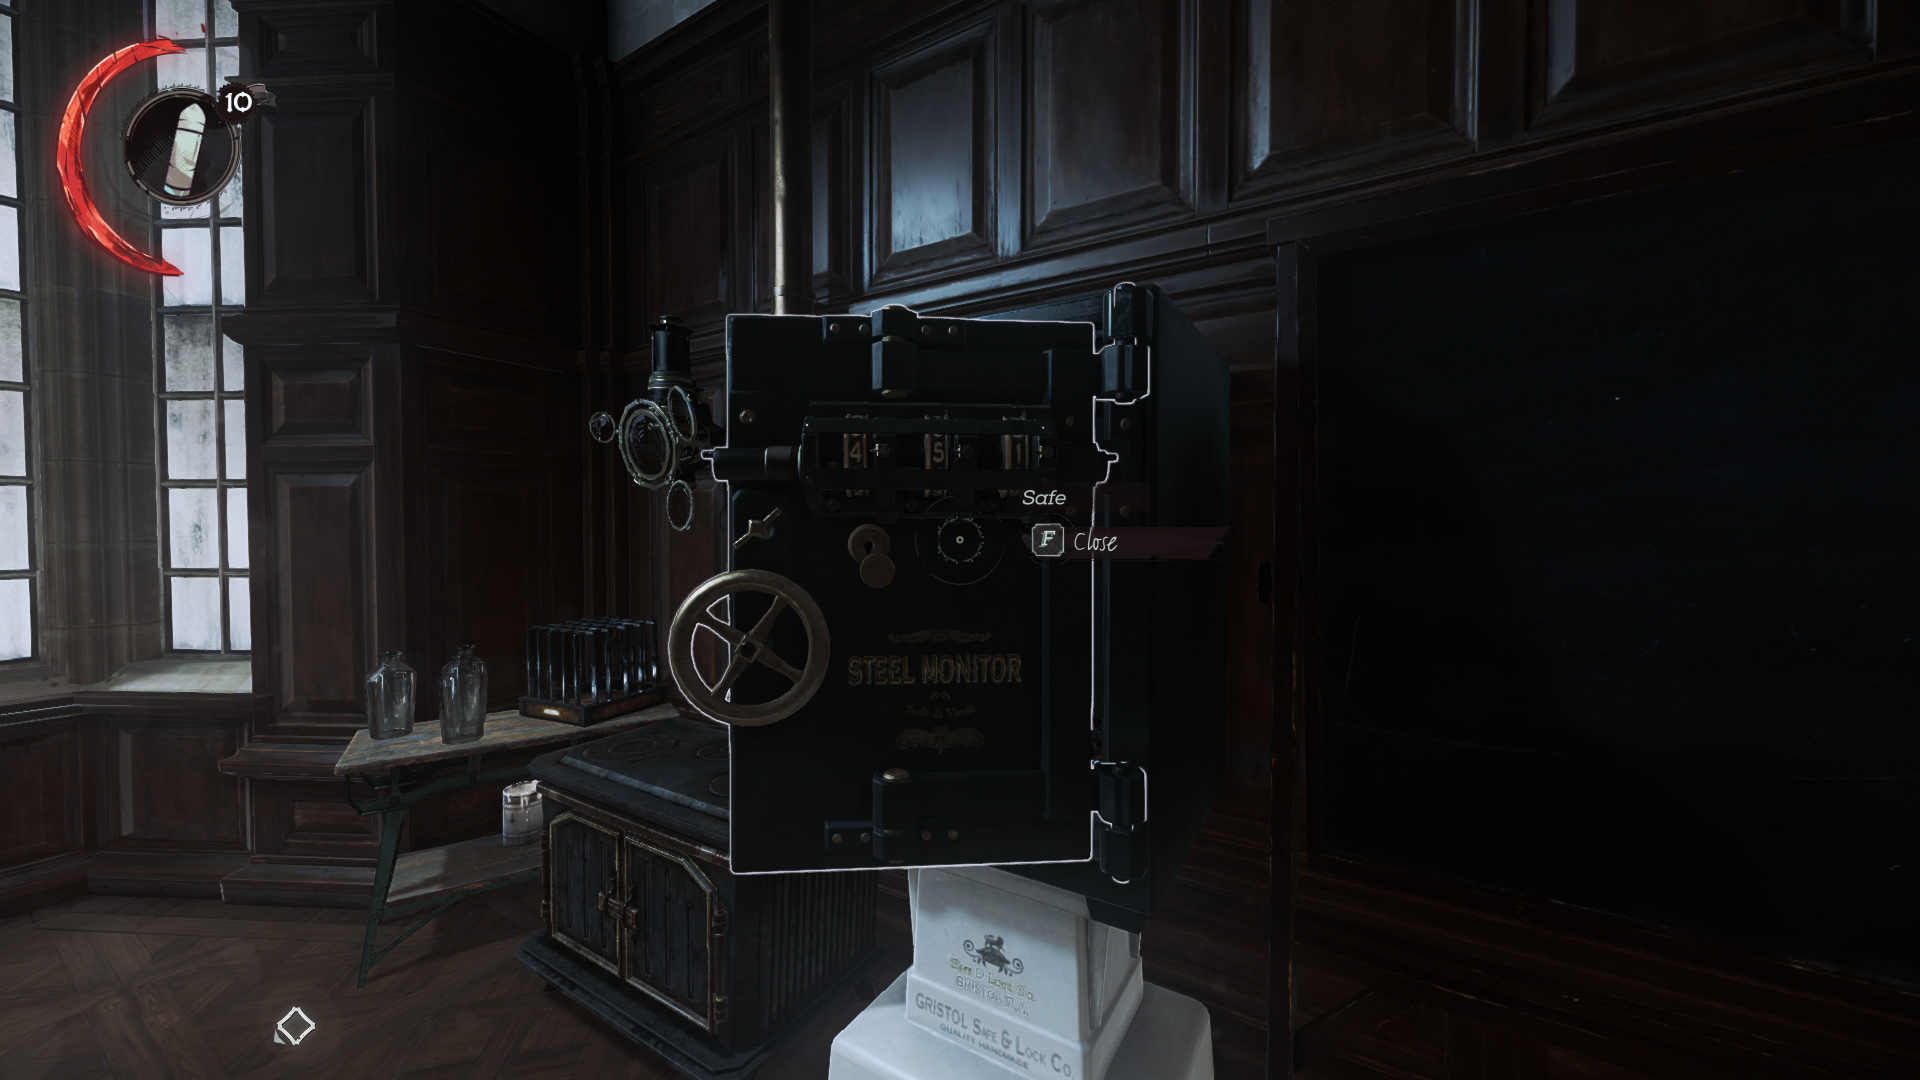
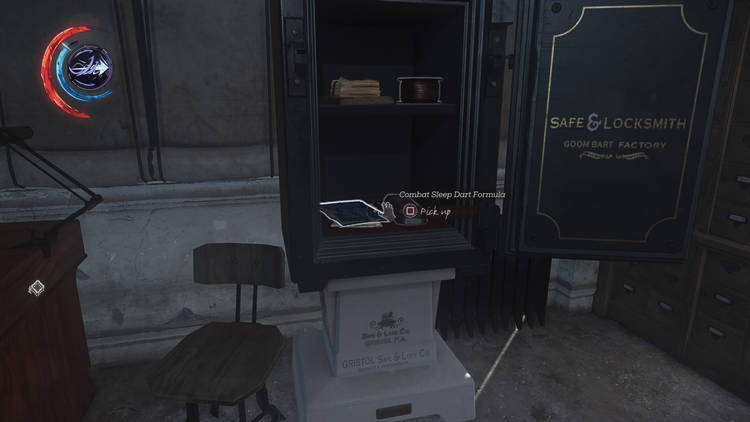
Dishonored 2 Mission 2 - Overseer Offices Safe Combination Location
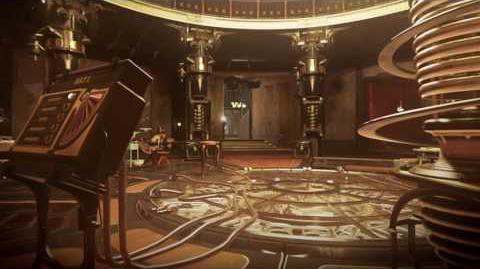
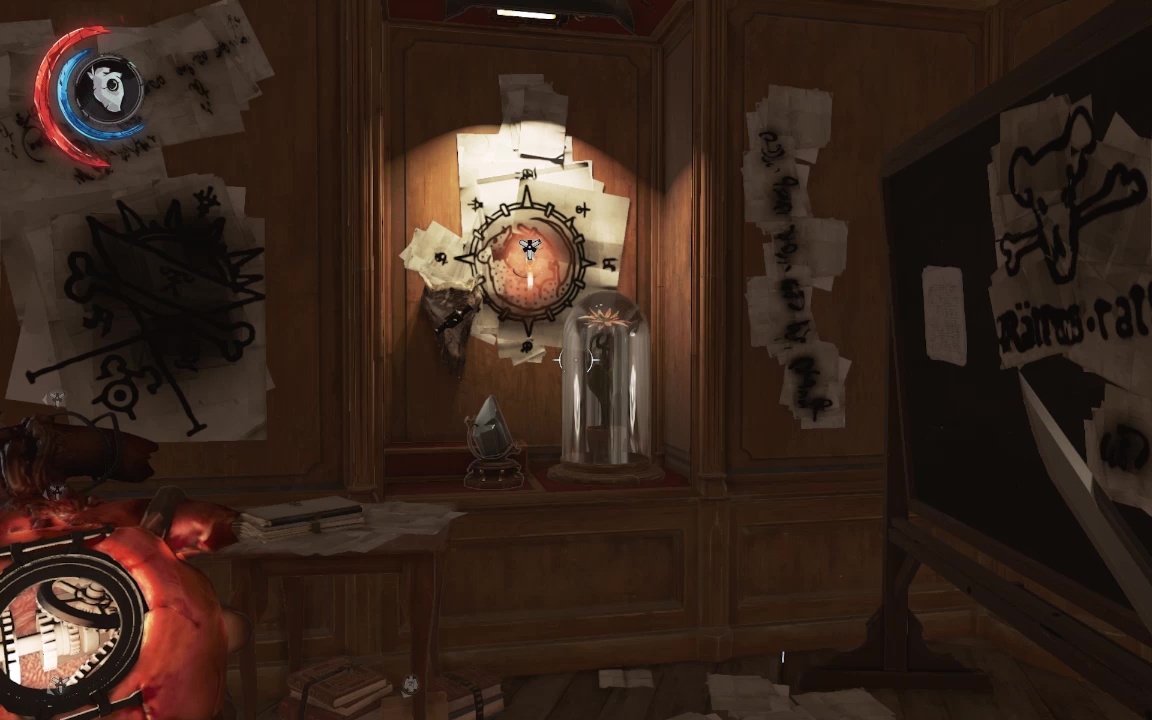
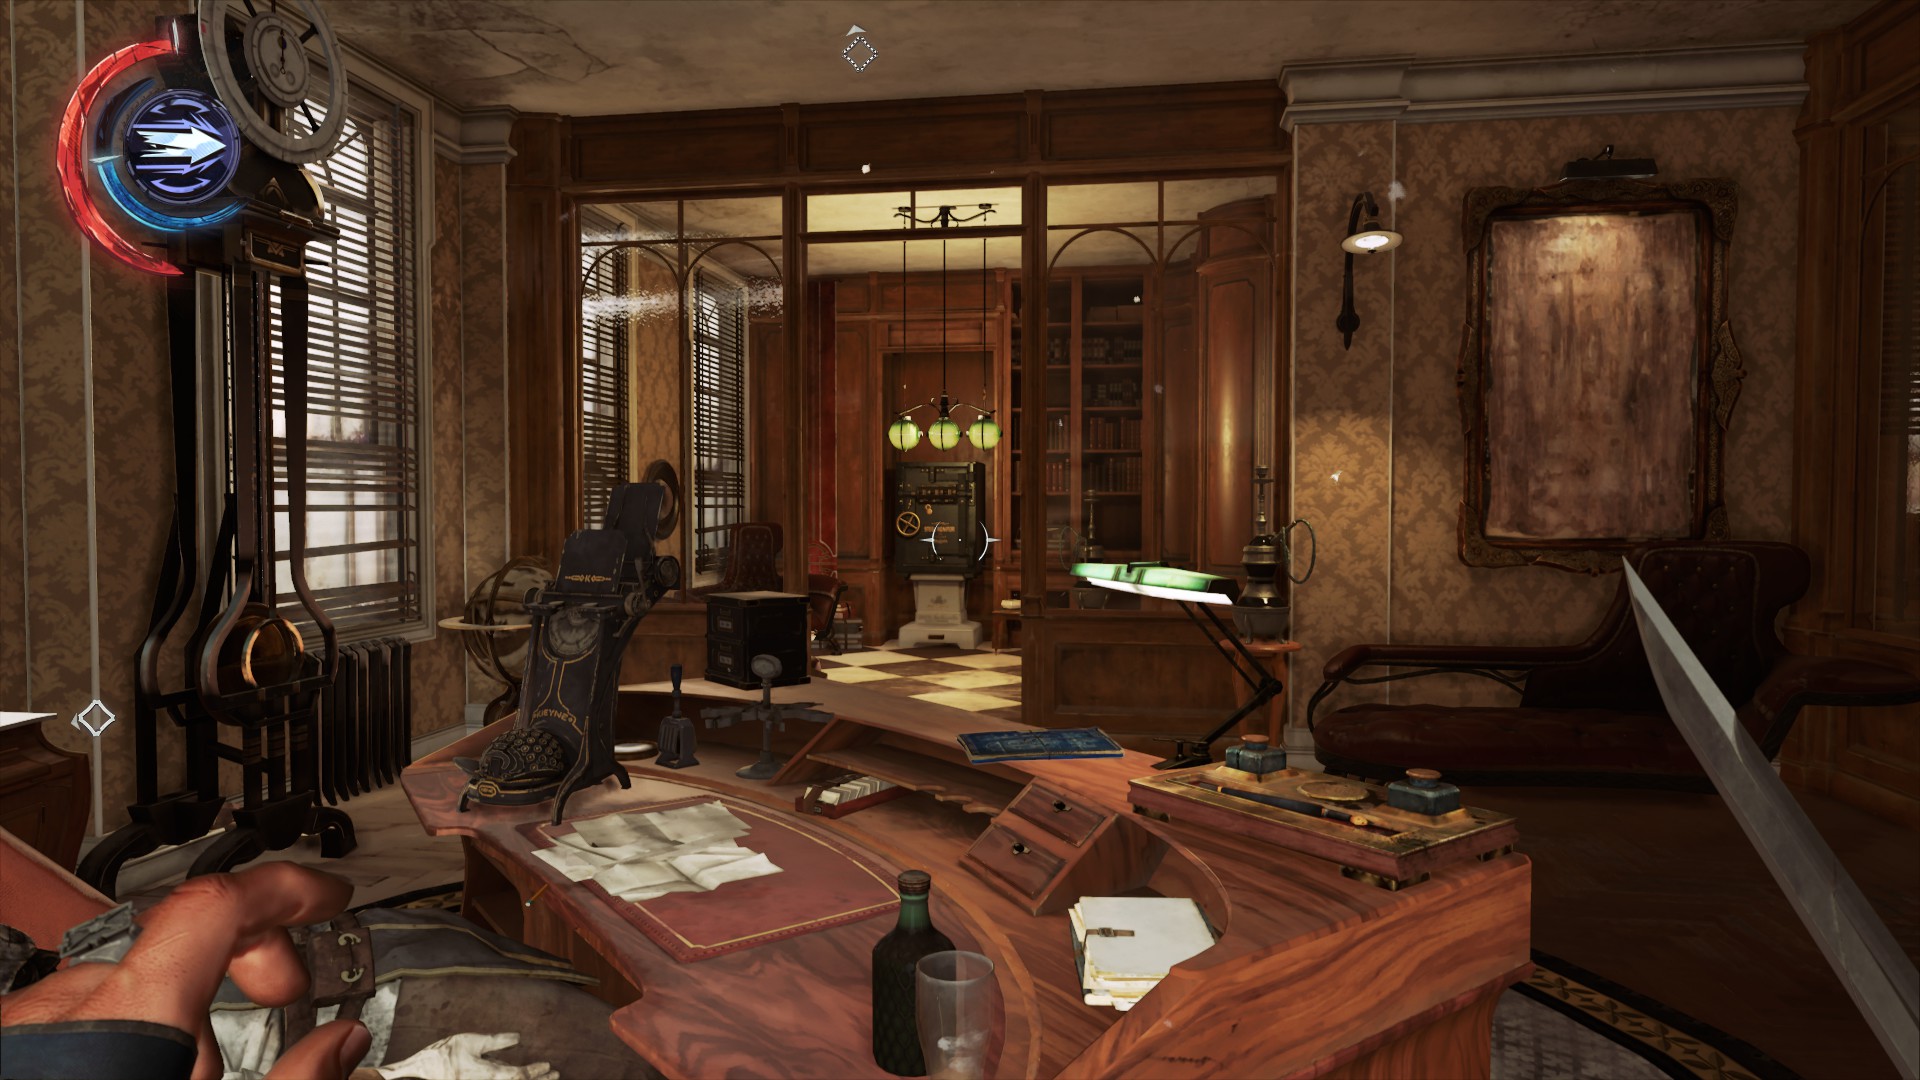
The Clockwork Mansion, Dishonored Wiki
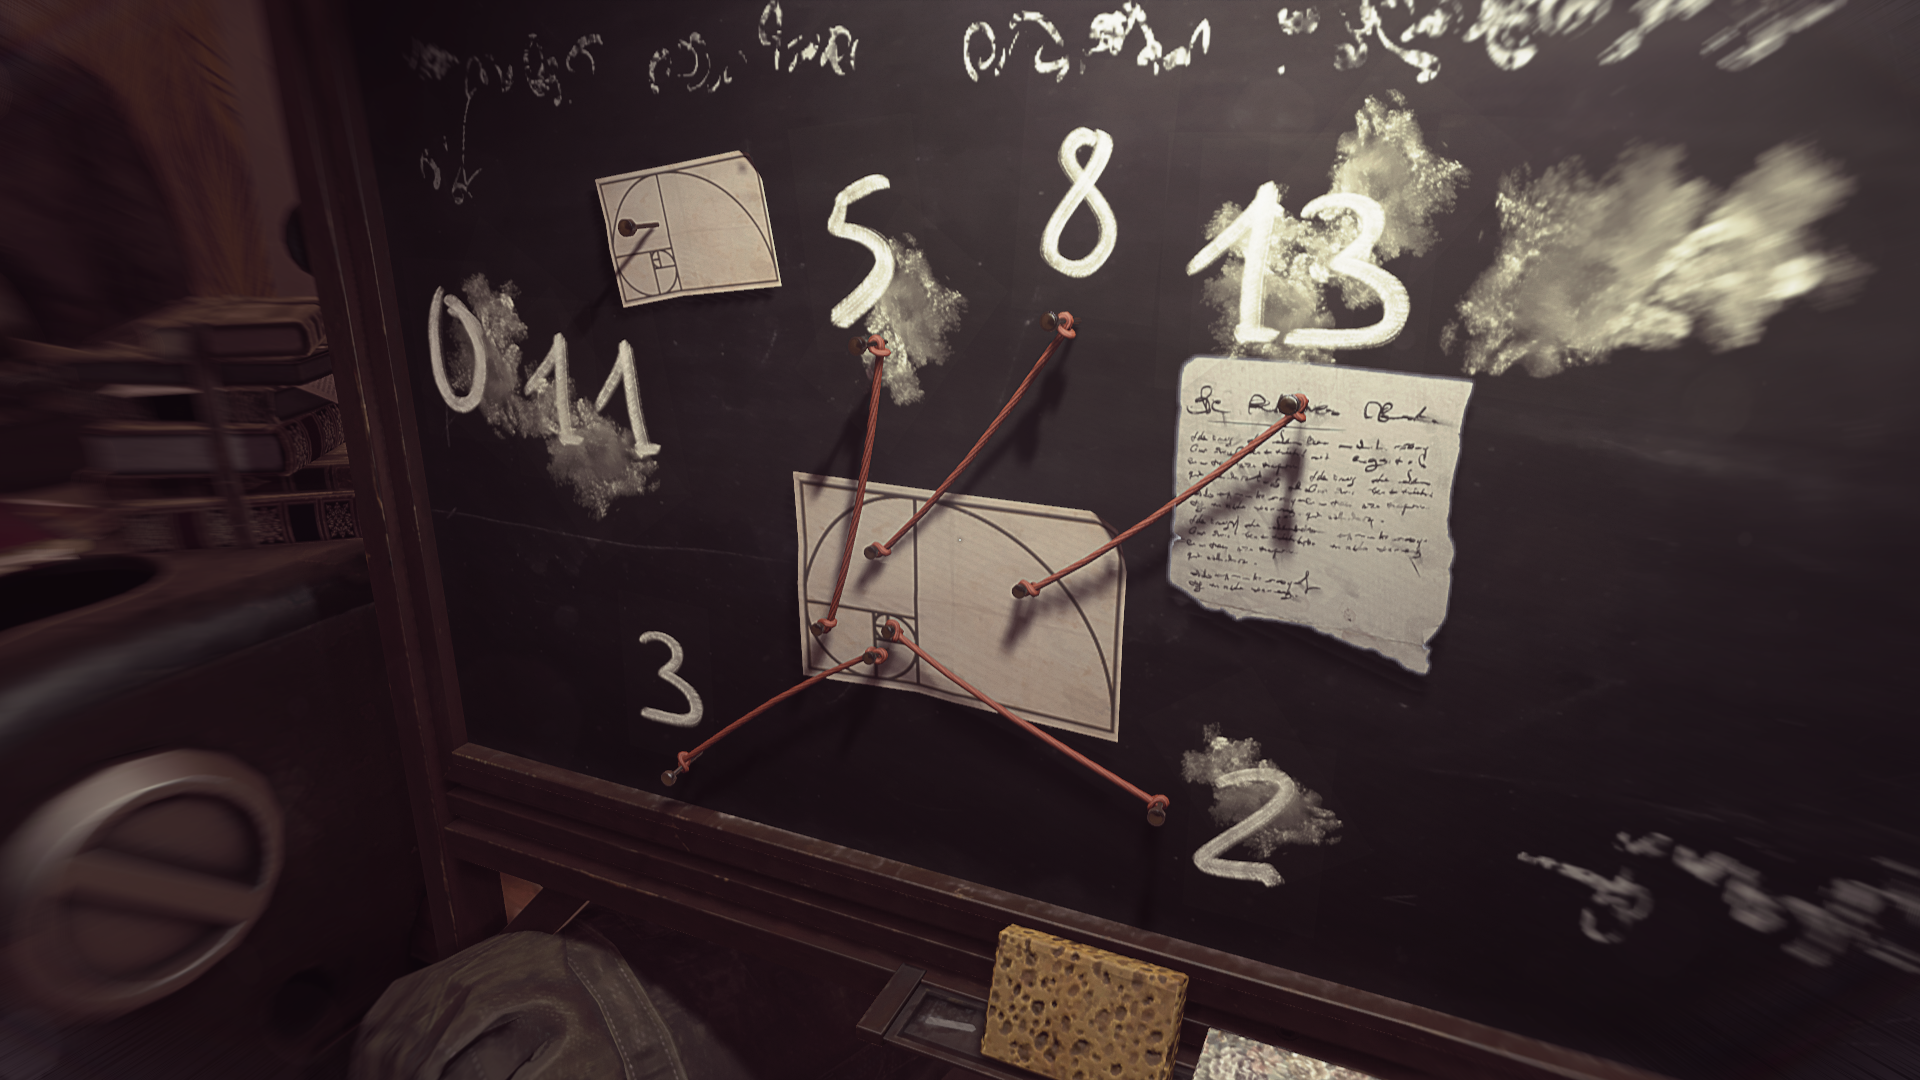
Dishonored 2 safe combinations mission 8
Dishonored 2 Guide/Walkthrough - Part II- The Jindosh Lock, the Howlers, and the Abbey
The Clockwork Mansion, Dishonored Wiki
Dishonored: Death of the Outsider - All Safe Code Combinations Guide
/cdn.vox-cdn.com/uploads/chorus_image/image/52205049/00201_Dishonored_2.0.jpeg)
Dishonored 2 walkthrough level 4: The Clockwork Mansion - Polygon
All Dishonored Safe Combinations (with video guide)
Starfield Casino Location: Here's How to Locate and Break Through the Almagest Vault To Get Richer Than Ever - EssentiallySports

Dishonored safe codes, All combinations for locked safes and doors

ᐈ Dishonored 2 - Safe Combinations & Locations guide - Codes List • WePlay!

ᐈ Dishonored 2 - Safe Combinations & Locations guide - Codes List • WePlay!
/cdn.vox-cdn.com/uploads/chorus_asset/file/7489979/00245_Dishonored_2.jpg)
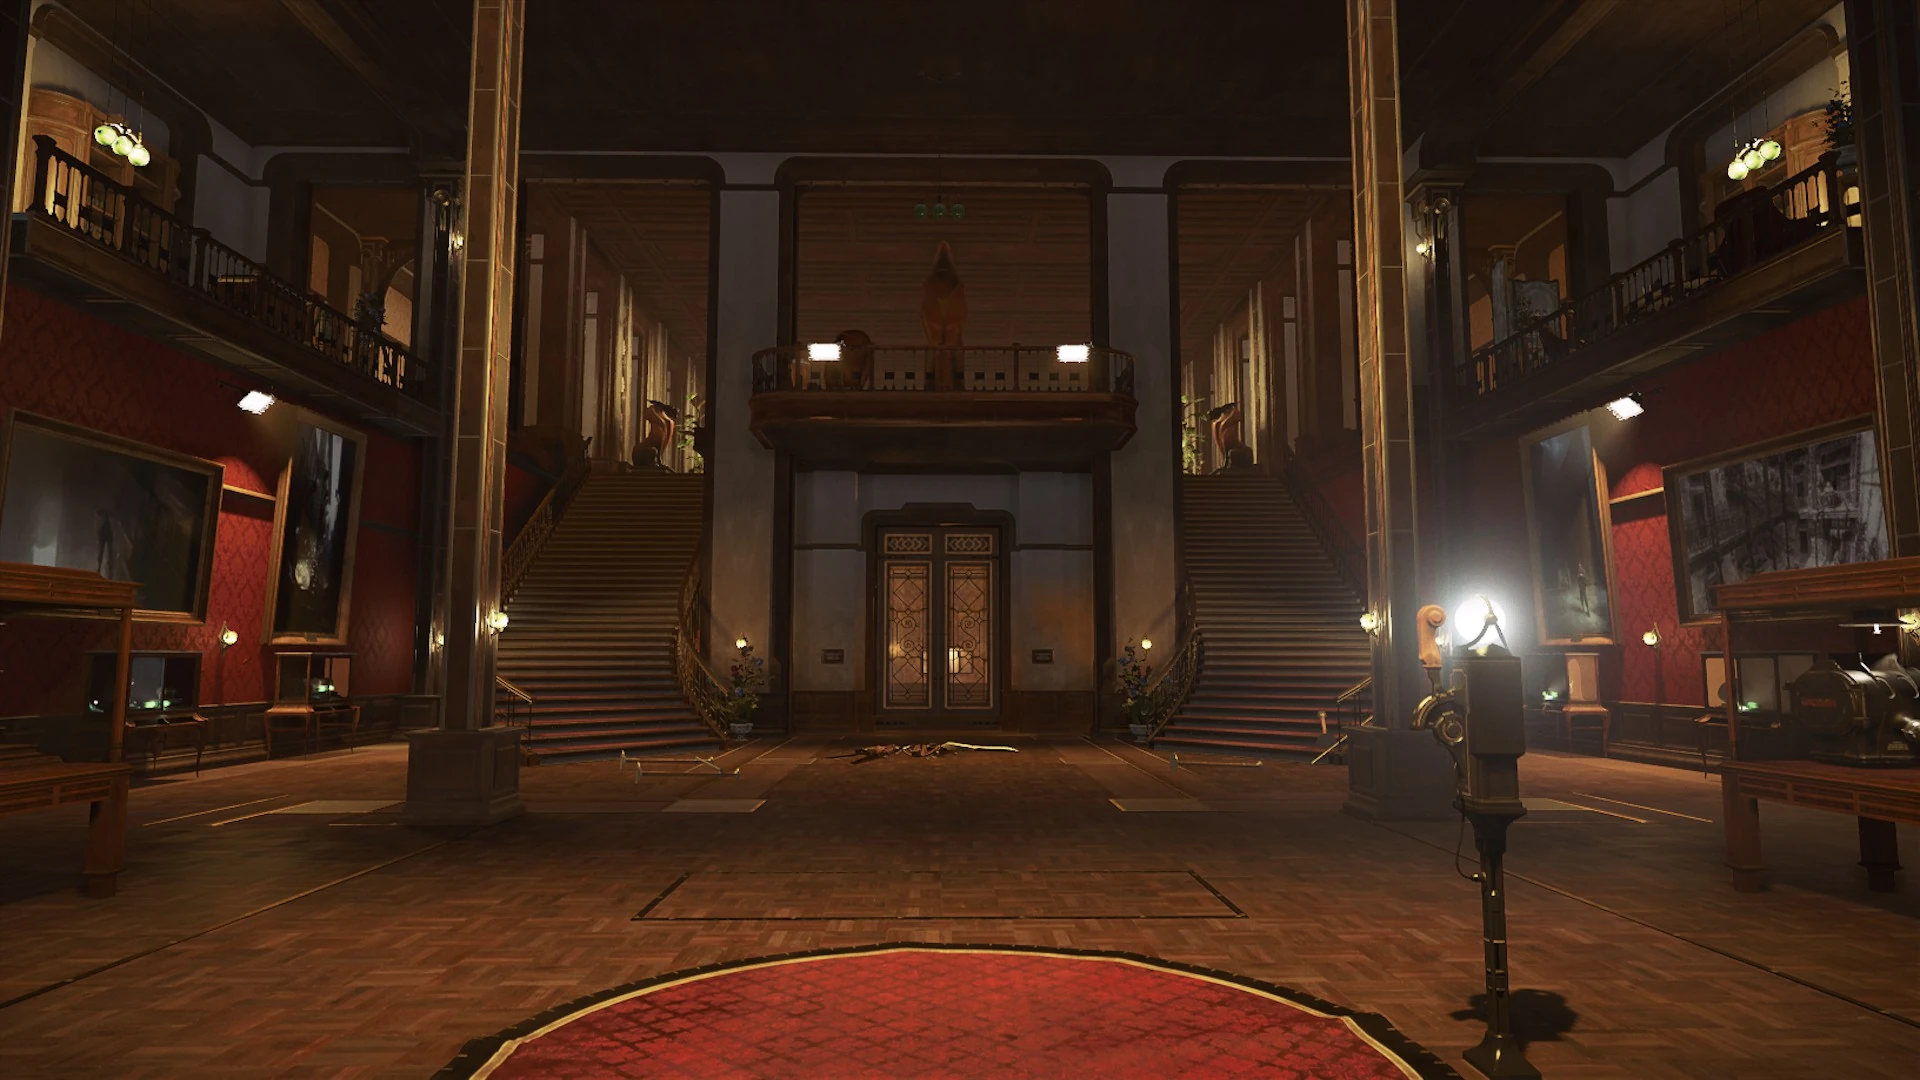
Dishonored 2 collectibles level 8: The Grand Palace - Polygon
Recomendado para você
-
Steam Community :: Guide :: Safe Locations / Codes01 dezembro 2024
-
 Dishonored 2: How to Open Every Safe01 dezembro 2024
 -
 0451 Vault - Dishonored 2 (2016)01 dezembro 2024
 -
 Dishonored 2 - Guide and Walkthrough - PlayStation 4 - By01 dezembro 2024
 -
 apparently code for this safe is randomly generated, just my luck01 dezembro 2024
 -
Dishonored: Death of the Outsider All Safe Codes01 dezembro 2024
-
 Review: Dishonored.01 dezembro 2024
 -
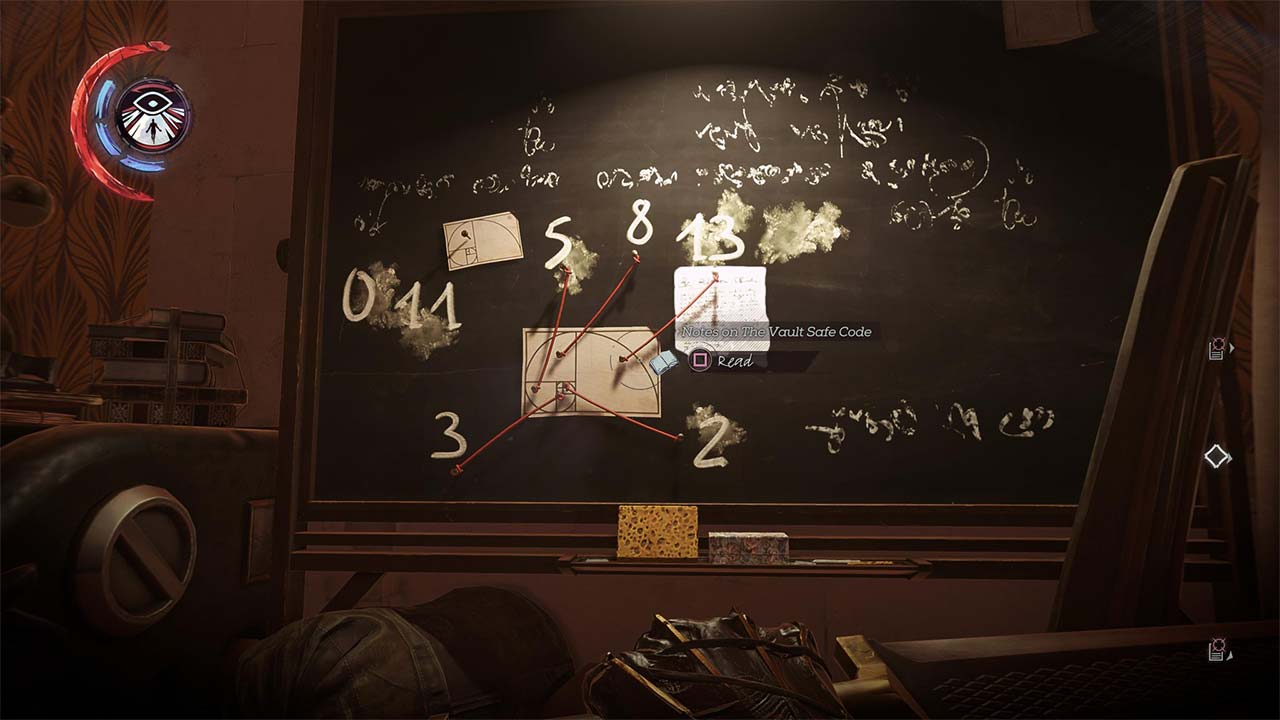
 Notes on The Vault Safe Code, Dishonored Wiki01 dezembro 2024
 -
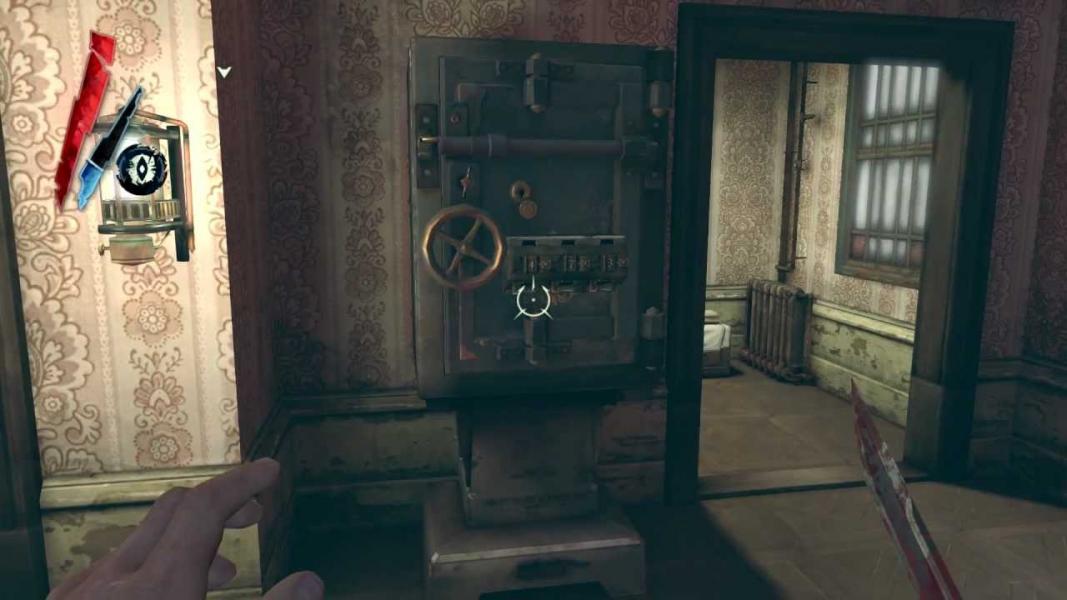
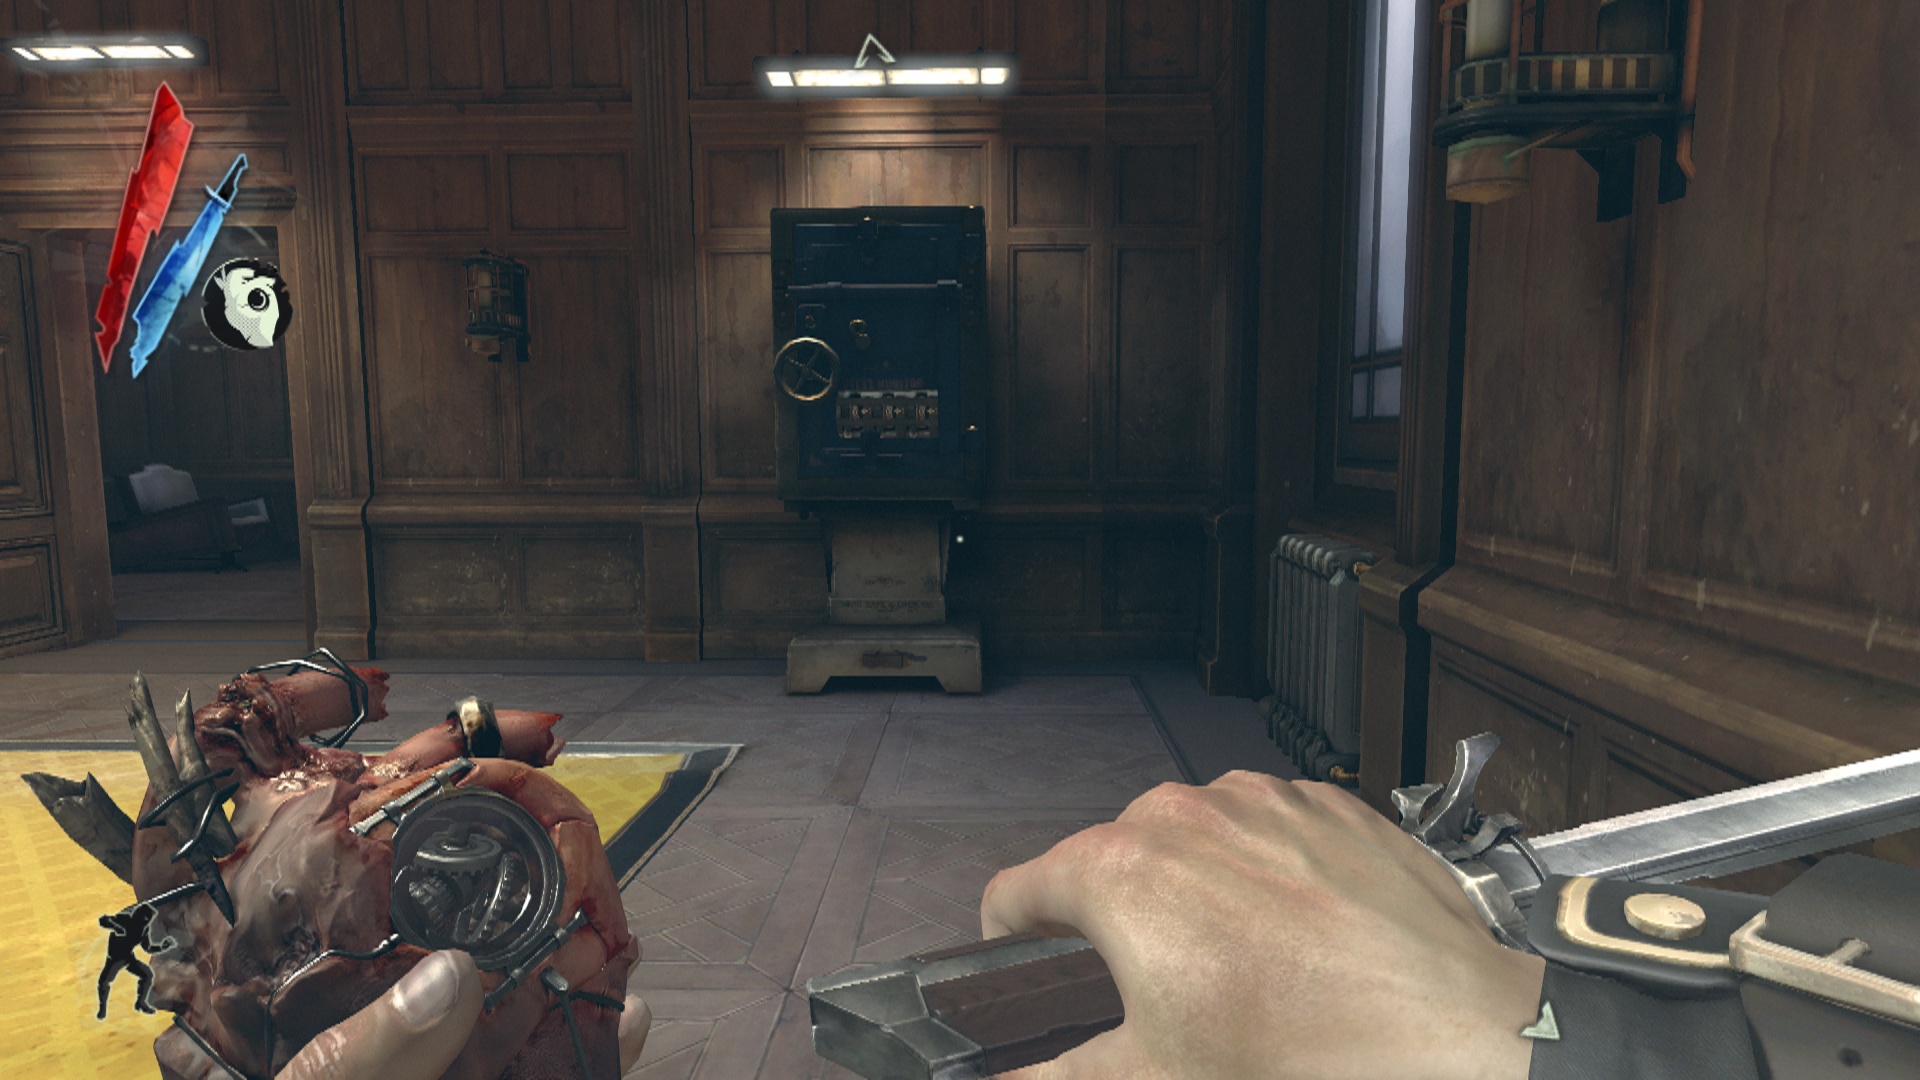 Dishonored Guide: Opening Doctor Galvani's Safe in Overseer01 dezembro 2024
 -
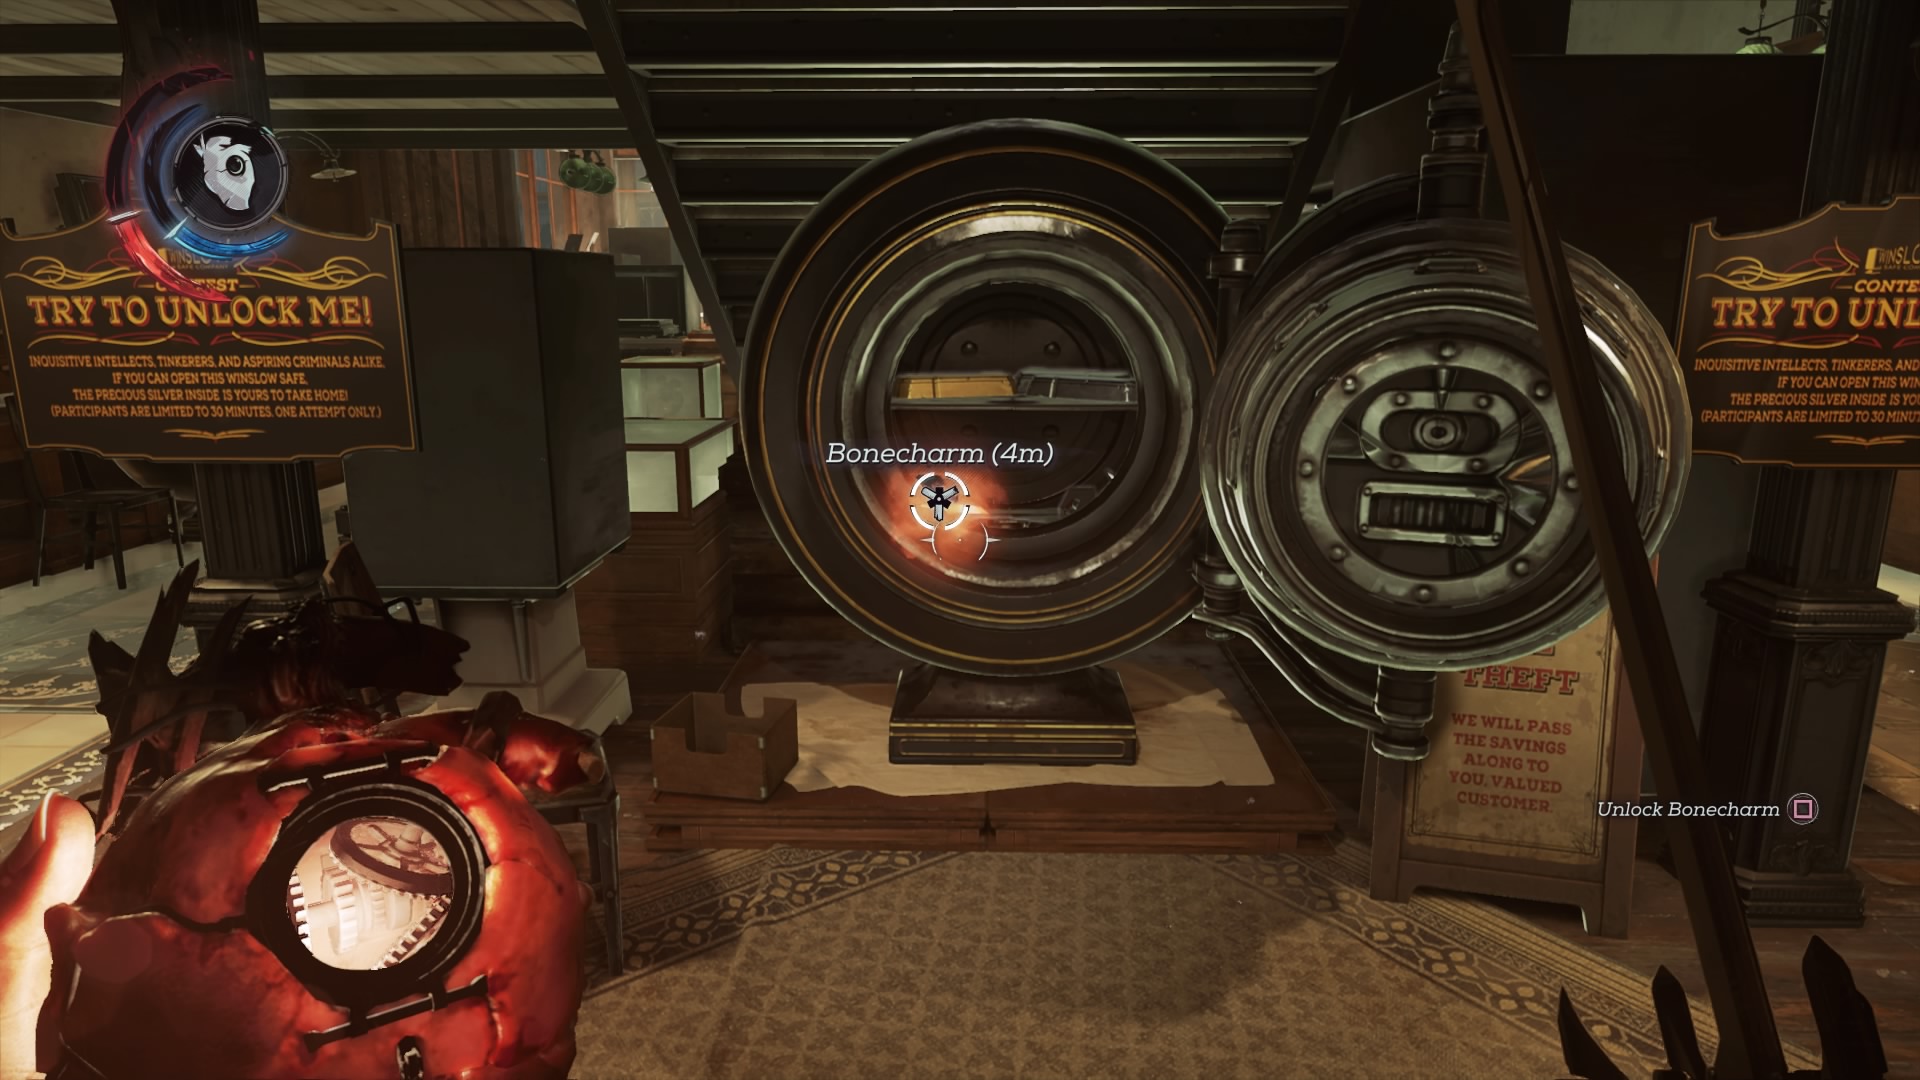
 Dishonored 2: bonecharm, rune and Outsider shrine locations01 dezembro 2024
você pode gostar
-
Extraterrestres, mito o realidad - Audiobook by Luis Ruiz de Gopegui01 dezembro 2024
-
 Muramasa: The Demon Blade: Why Vita And What About The Lost Wii Content? - Siliconera01 dezembro 2024
 -
 Isekai Yakkyoku - Wikipedia bahasa Indonesia, ensiklopedia bebas01 dezembro 2024
 -
 My number lore 7 prediction by koenpfeil0gmail on DeviantArt01 dezembro 2024
 -
 VvKxQSp.gif01 dezembro 2024
 -
 Nike Launches .SWOOSH, Its Official NFT-enabled Web3 Virtual Marketplace - Blockchain Council01 dezembro 2024
 -
 NEW* FREE Legendary Gun Skin (Permanent) + Test Server Update + 2 New Redeem Codes in COD Mobile!01 dezembro 2024
 -
 Chainsaw Man: Where to Watch, How to Stream01 dezembro 2024
 -
 Natsu Dragneel, Daily Anime Art01 dezembro 2024
 -
 IBUO on Twitter Man wallpaper, Chainsaw, Man character01 dezembro 2024
